I initially intended to do a pair of tutorials, one using S3OC/S3PE and another using TSRW, but I just don't have the patience to do more than the TSRW tutorial. What I've done instead is split this into three and a half sections, the image parts of which can be used to create recolors of my mesh with S3OC/S3PE if you're familiar with making retextures that way.
Since this is done using TSRW, it should be fairly easy for just about anyone out there to do, so let's get to it, shall we?
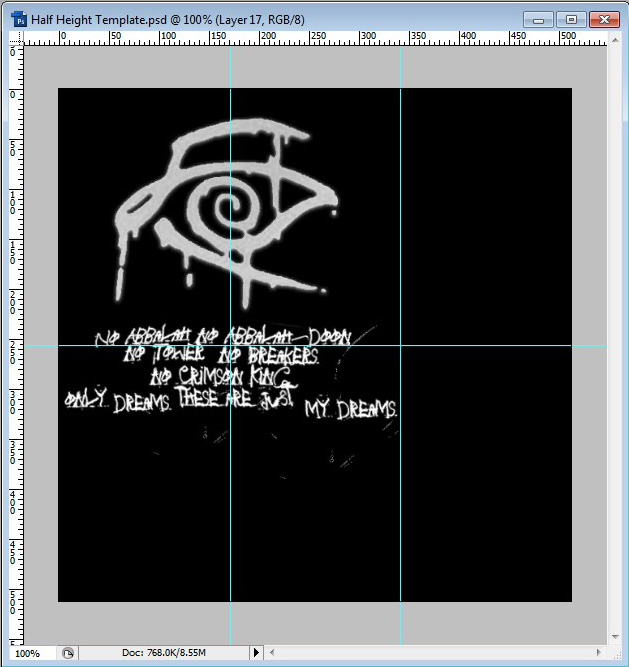
Note: This tutorial was put together based on my half-height wall writing. Therefore, all the image sizes are 512x512. The full-height and double-wide wall writing images are 1024x512. Please be sure to pay attention to which wall writing mesh you're creating on. ;)
First step, you may find it very useful to download my half-height wall writing psd template:
Download!
Overlays
Overlays are the closest to the TS2 ways of doing things, in that there's a set design that can't have the colors changed. This is a great way to do things like torn up posters.
Each overlay will need two images: the overlay itself, and an alpha-edited multiplier.
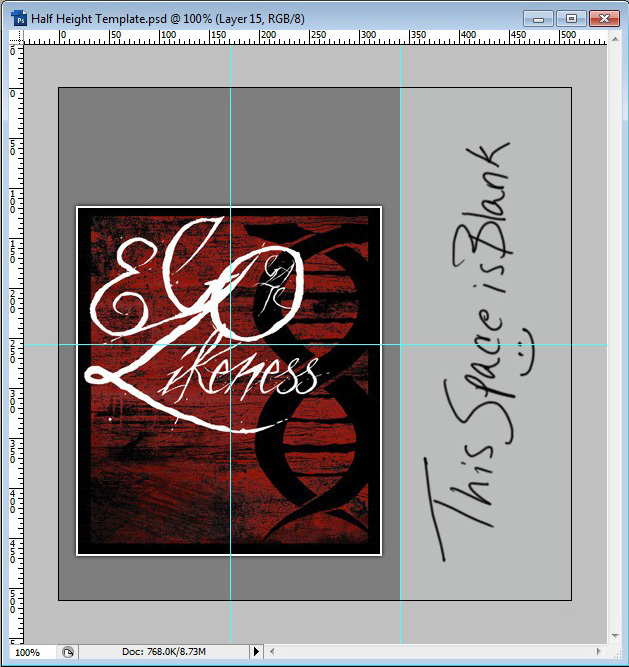
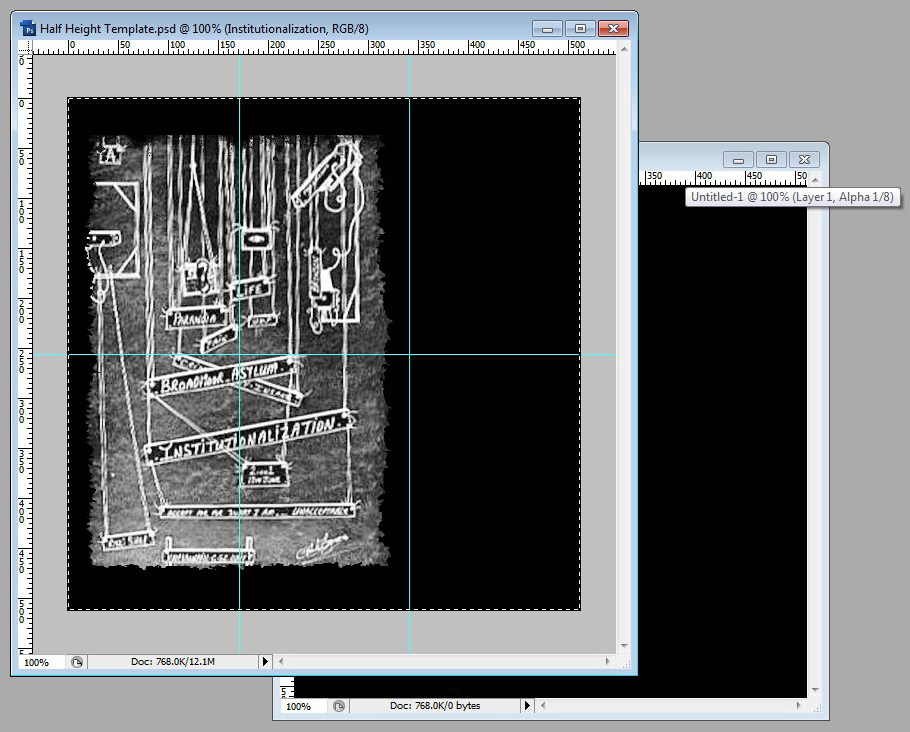
Pick the image you want to use as your overlay and paste it into the template psd file.
While you can leave it perfectly clean, it's generally more interesting to add more wear and tear to the image. I've aged this a bit, adding a layer of grunge and using texture brushes to erase 'tears' into the image. You'll also probably want to add a drop shadow layer. You can feel free to use the drop shadows included in the layers under 'Signs' if you'd like.
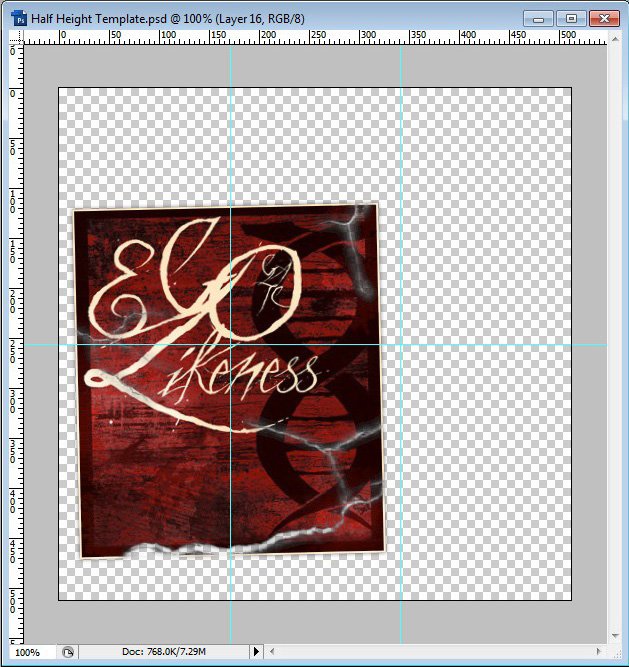
When you're done editing your image, combine all the grunge effects into a single layer. You'll no longer be able to edit the layer effects, but that's actually a good thing. Notice how I've only combined the 'poster' images, and not the background images.
With the '50% Grey' layer on, select all and 'copy all.' Create a new image, 512x512, and paste this into it. Go back to the template psd.
Click to enlarge.
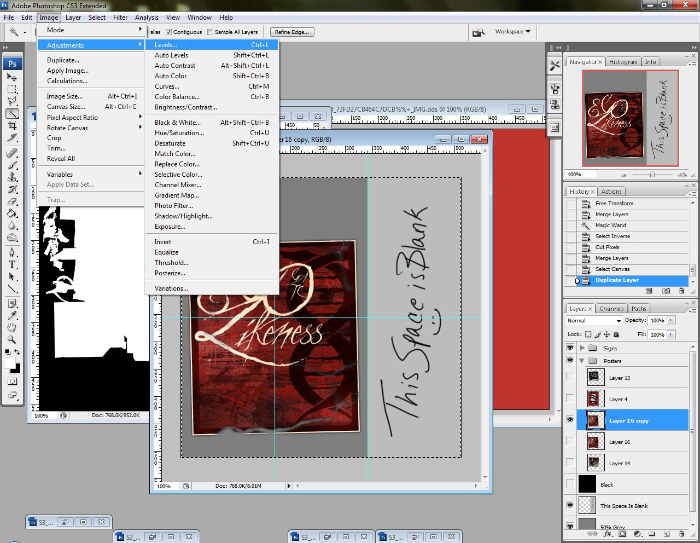
TS3 uses DDS files for its images, so you'll need to create an alpha layer so the game knows how to correctly display your texture.
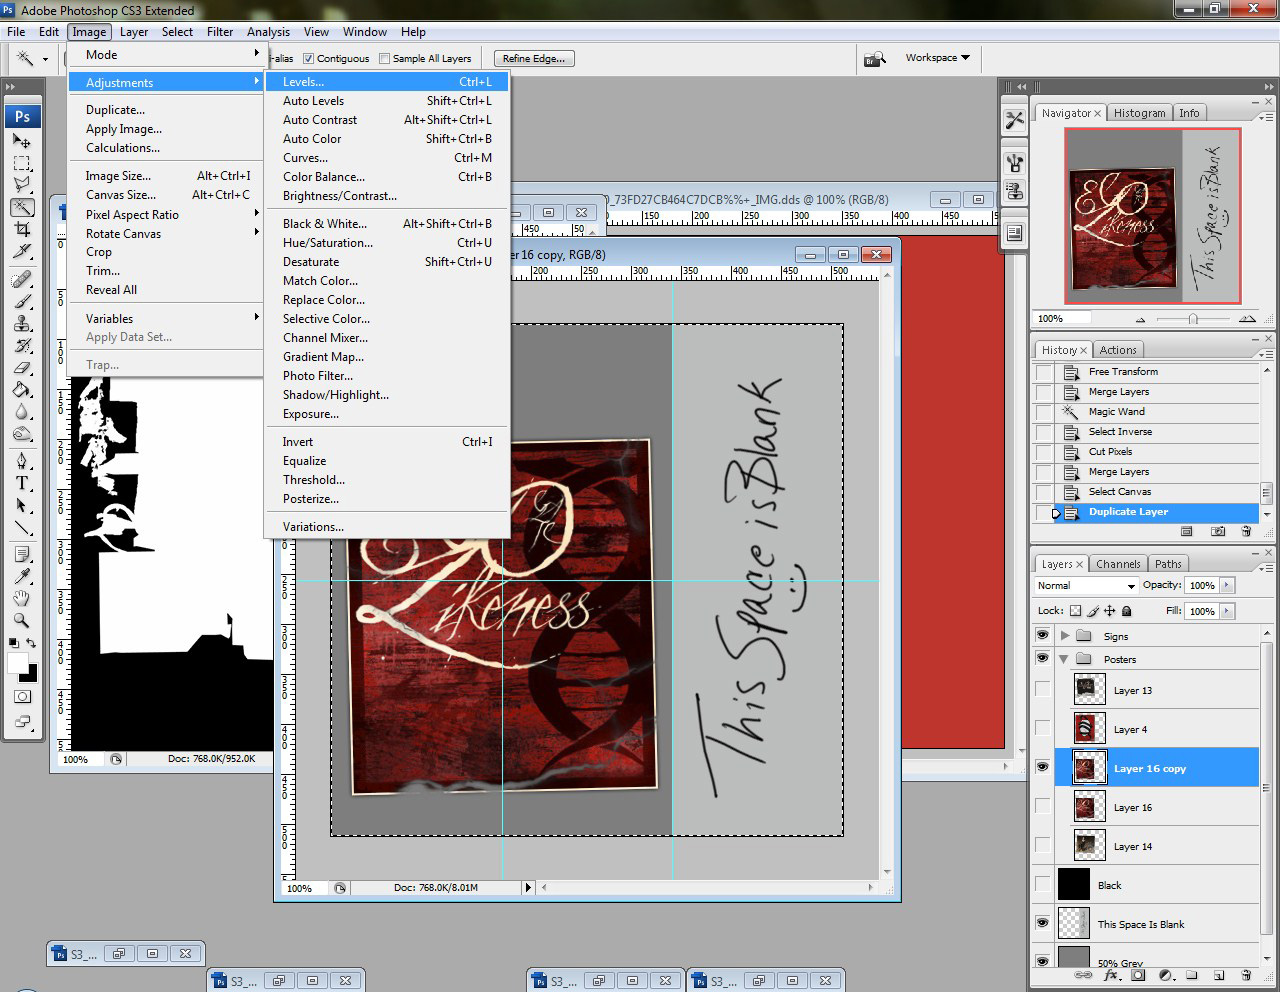
Make a copy of your combined poster image, then click on Image - Adjustments - Levels.
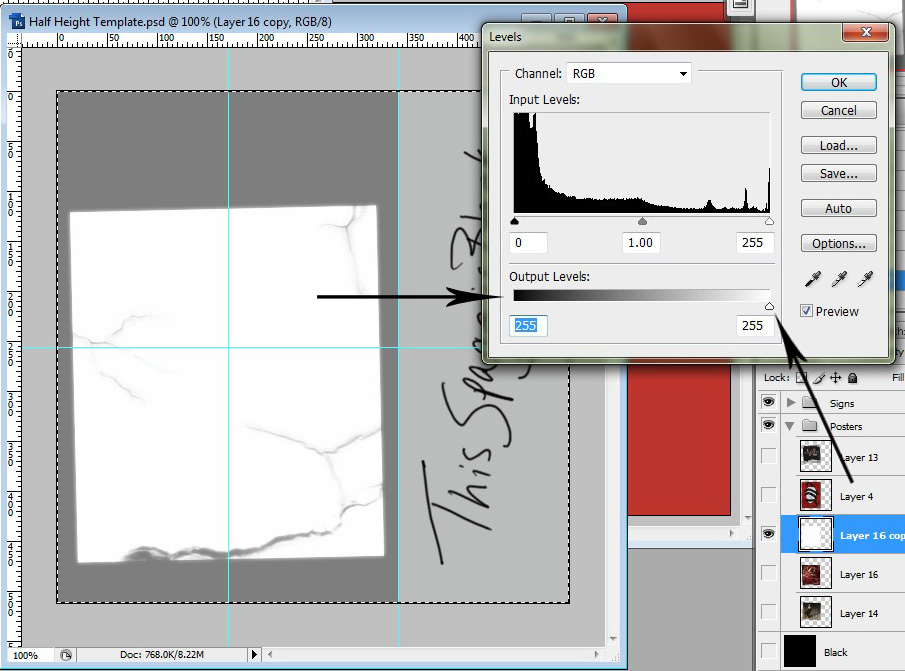
On 'Output Levels,' slide the triangle on the far left all the way over to the right. This will change your copied level to complete white, including the drop shadow effect.
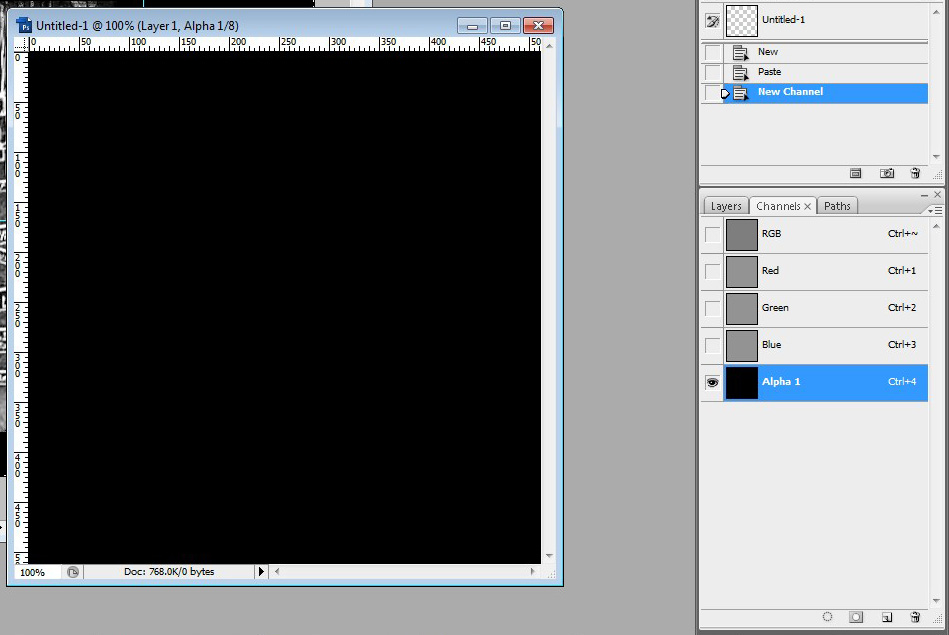
At this point, turn the 'Black' layer on. What you can see now is your alpha! Do 'select all,' 'copy all' again and switch over to your new 512x512 image.
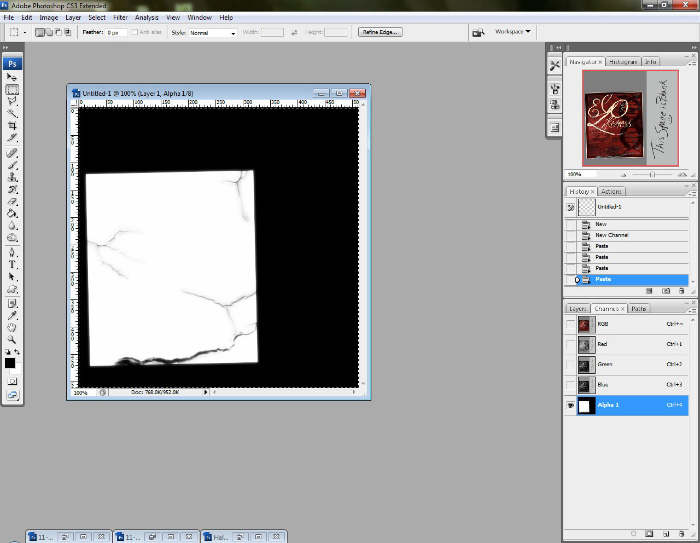
Click to enlarge.
Go to the 'Channels' tab on your new 512x512 image. You may have to 'Create A New Layer,' which is the little square thingy next to the trash can looking dealie at the bottom of the channels tab. With the alpha channel selected, paste your alpha.
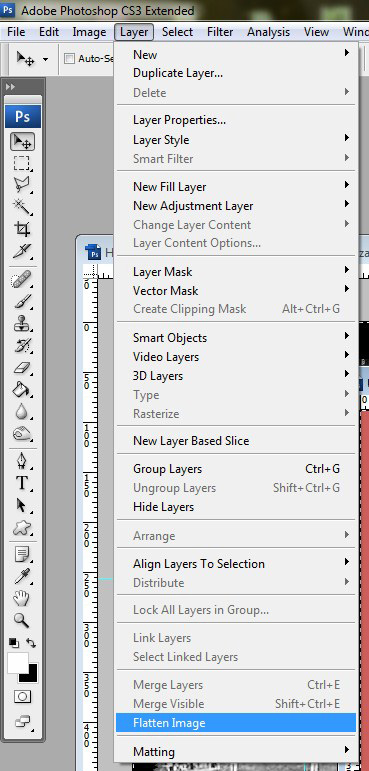
Go to Layer - Flatten image, and flatten your image.
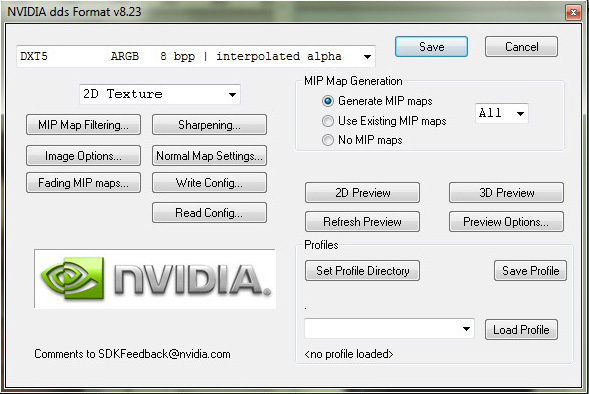
Do 'Save As' dds, and save your overlay with these settings. Name it whatever you want.
Creating the Overlay's Multiplier
Now, I utterly failed to get pictures of this next part, but it's really straight forward. Create a new 512x512 image and floodfill it with 50% grey. Under channels, create an alpha channel and simply paste in the alpha from your overlay. Save as a dds DXT5.
That's all there is to creating overlays!
Creating Overlay Packages With TSRW
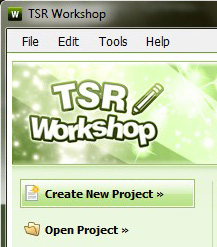
Open TSRW and select 'Create New Project.'
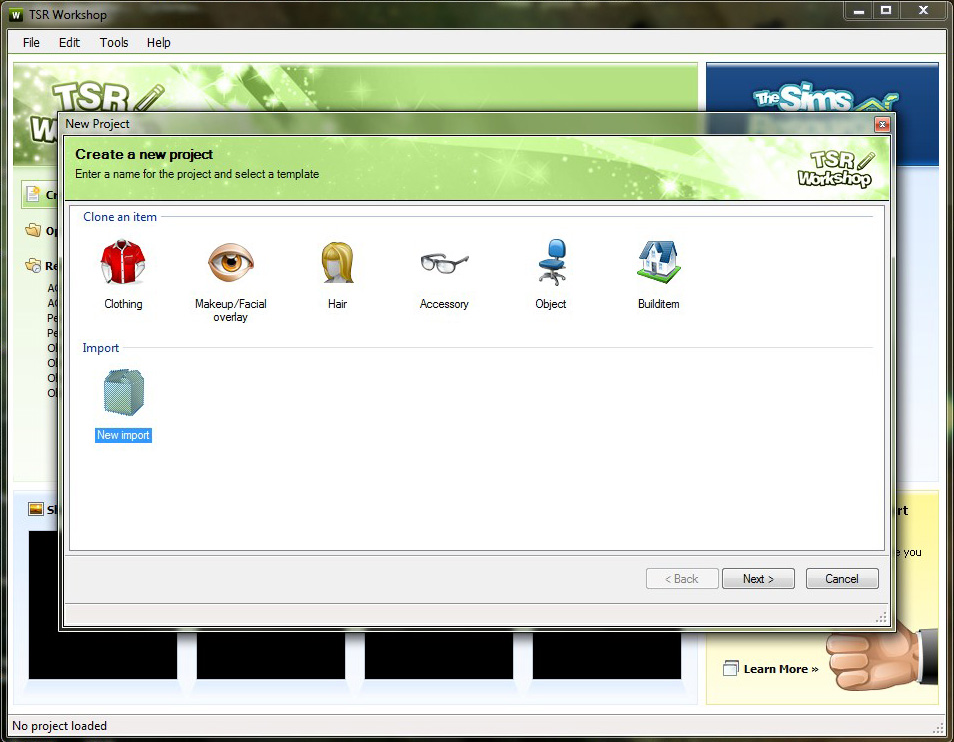
Select 'New Import' and click 'Next.'
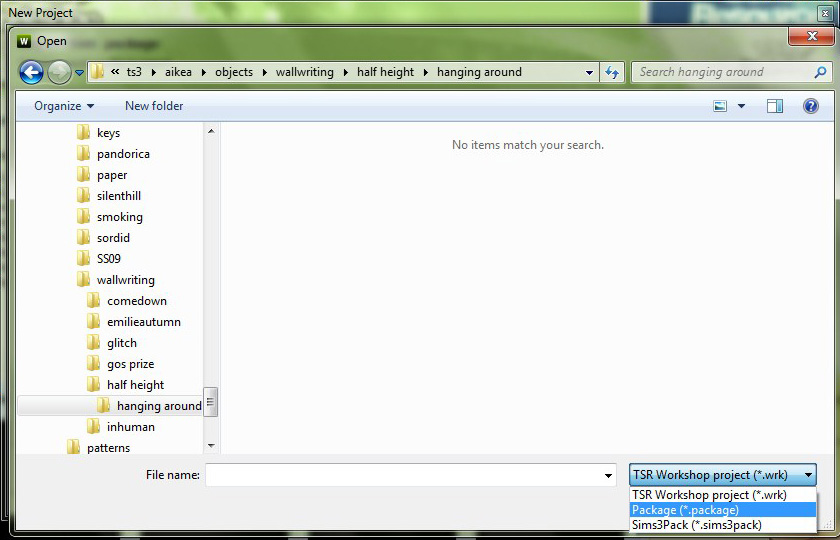
Use the drop-down menu to change the search to include 'packages' and select the version of my wall writing mesh you wish to edit.
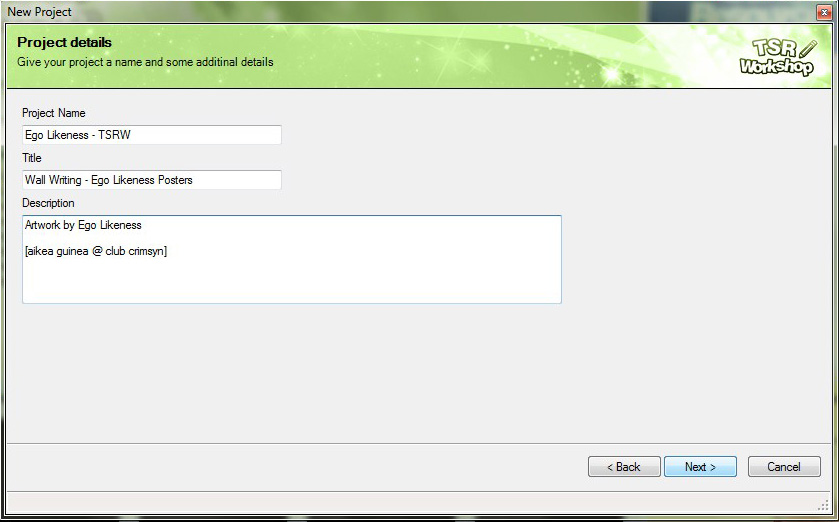
Fill out all this crap and click 'Next.'
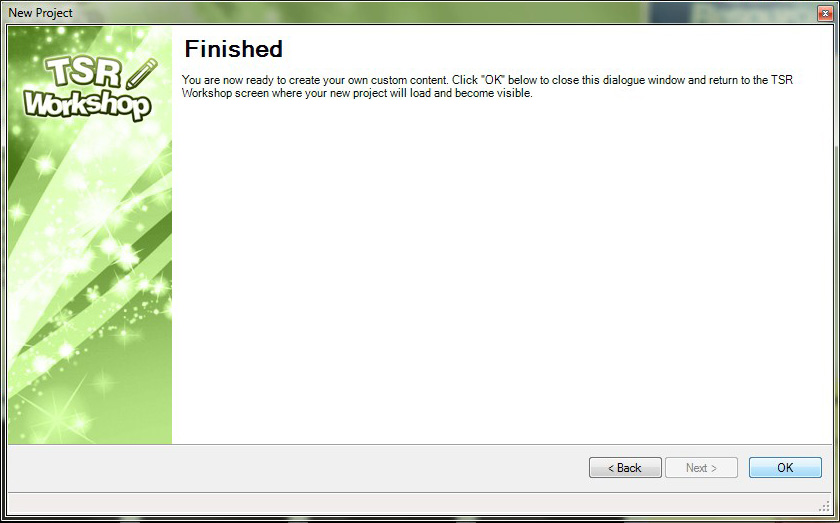
Click 'Ok' and let it do it's thing.
If you have fewer designs than are part of the package you're cloning, you'll want to delete some until you have the correct number. In this example, I only had three new designs, while the cloned package had six.
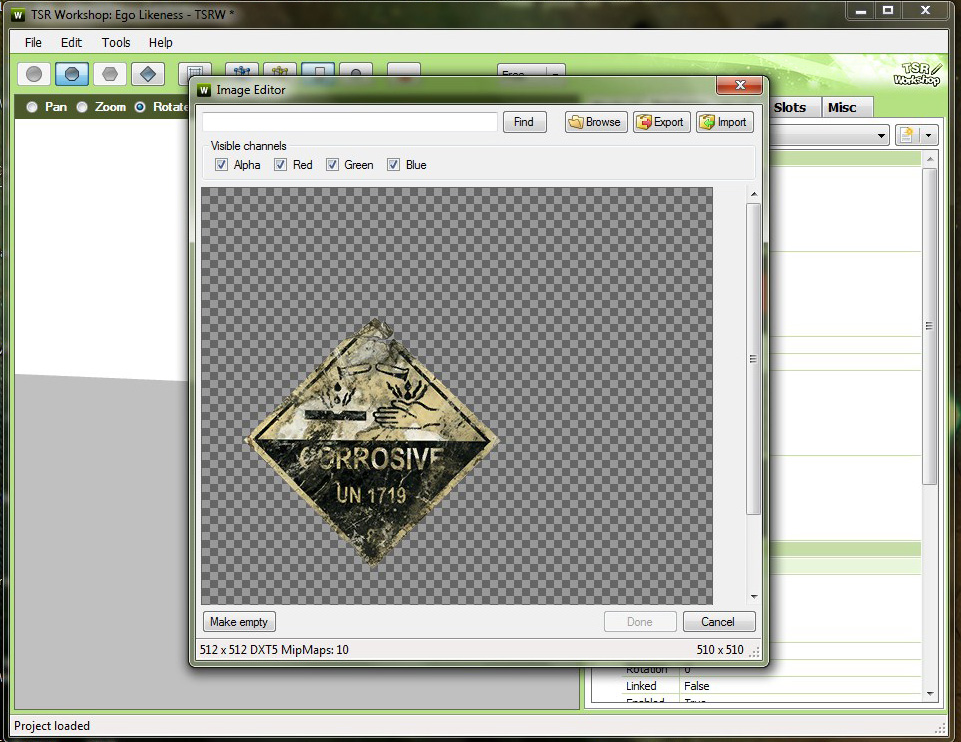
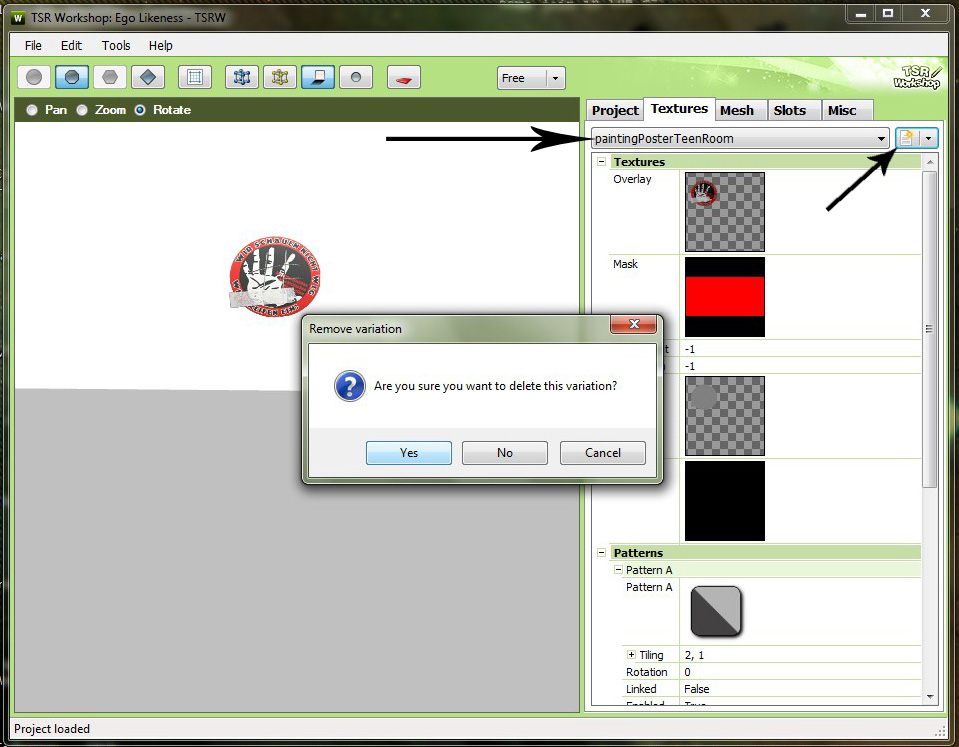
Once you have the right number of designs, click on the first one in the list, then double-click on the overlay texture.
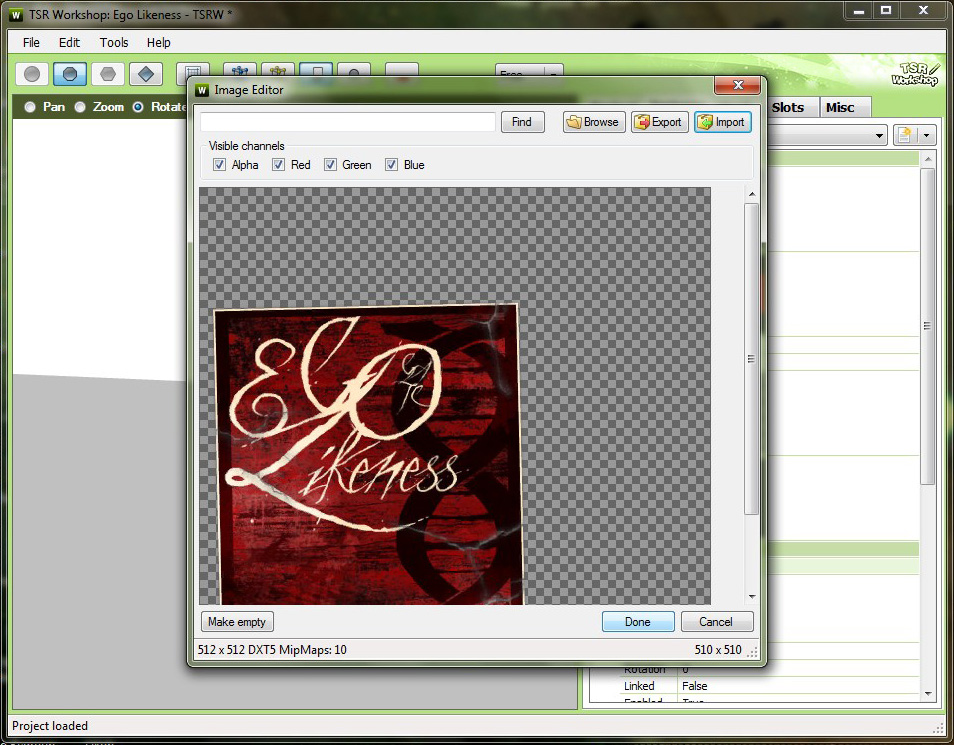
Click on 'Import' in the upper right corner, and select one of your overlay images.
Click 'Done.'
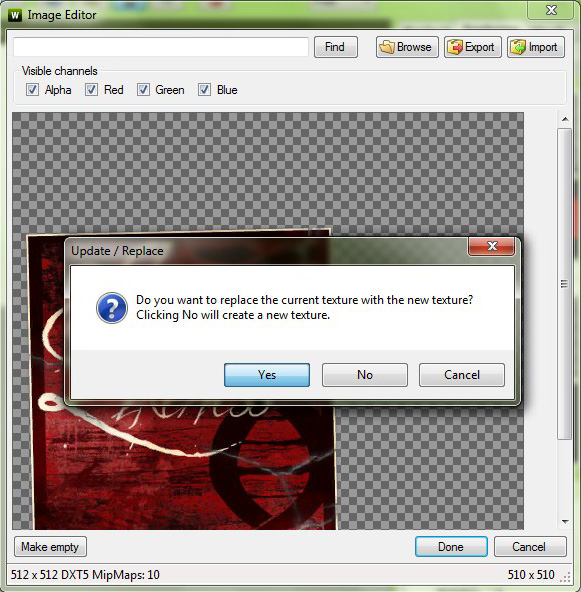
Click 'Yes.'
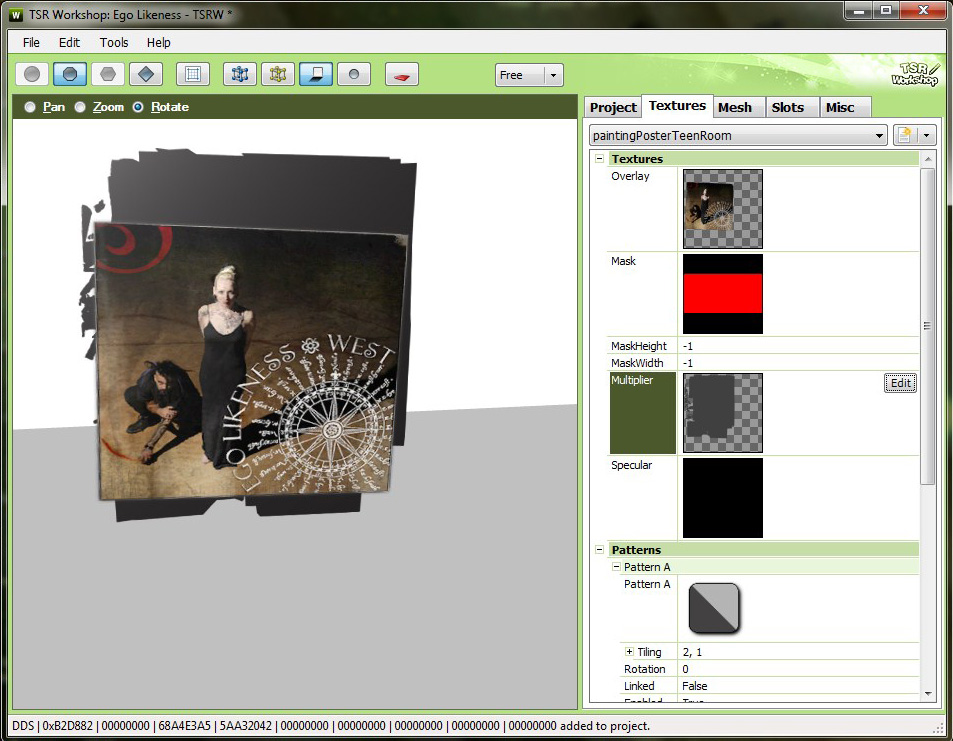
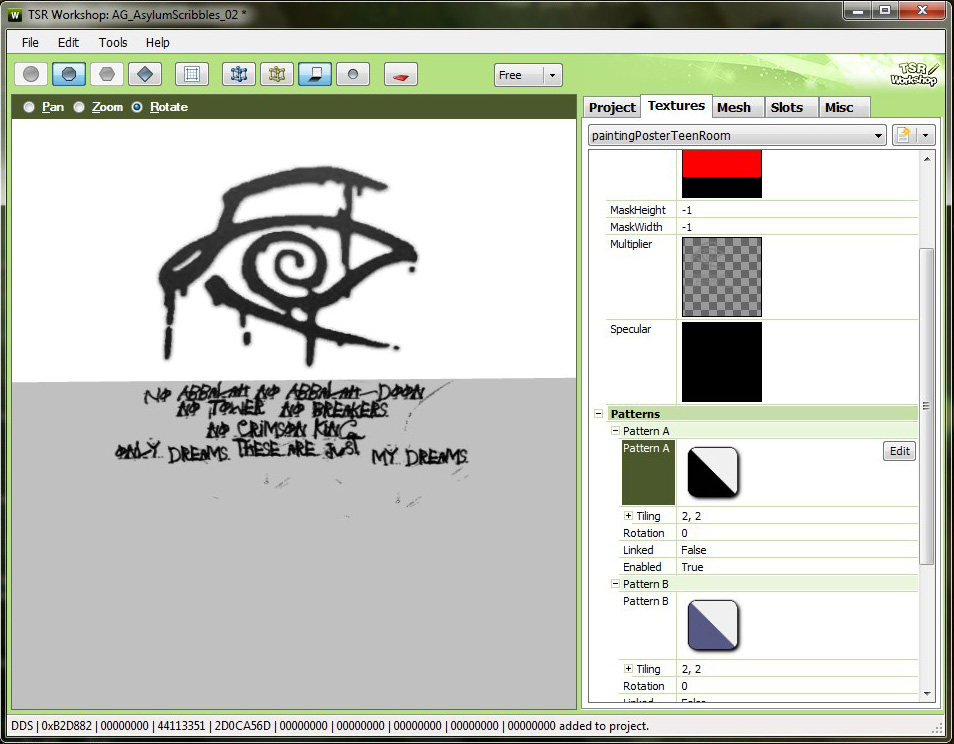
Now go down to the 'Multiplier' texture. As you can see, if you don't change this, you can end up with randomness.
Click on 'Edit' and import the companion multiplier for the overlay you just imported.
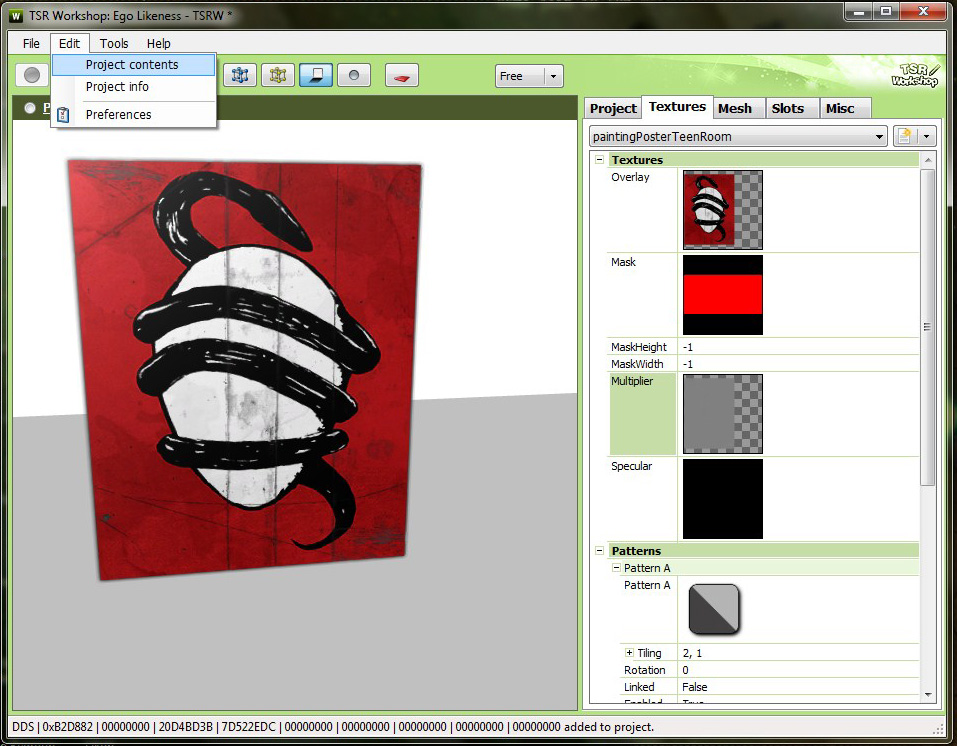
Repeat the above steps for all the textures you've created, then go to Edit - Project Contents.
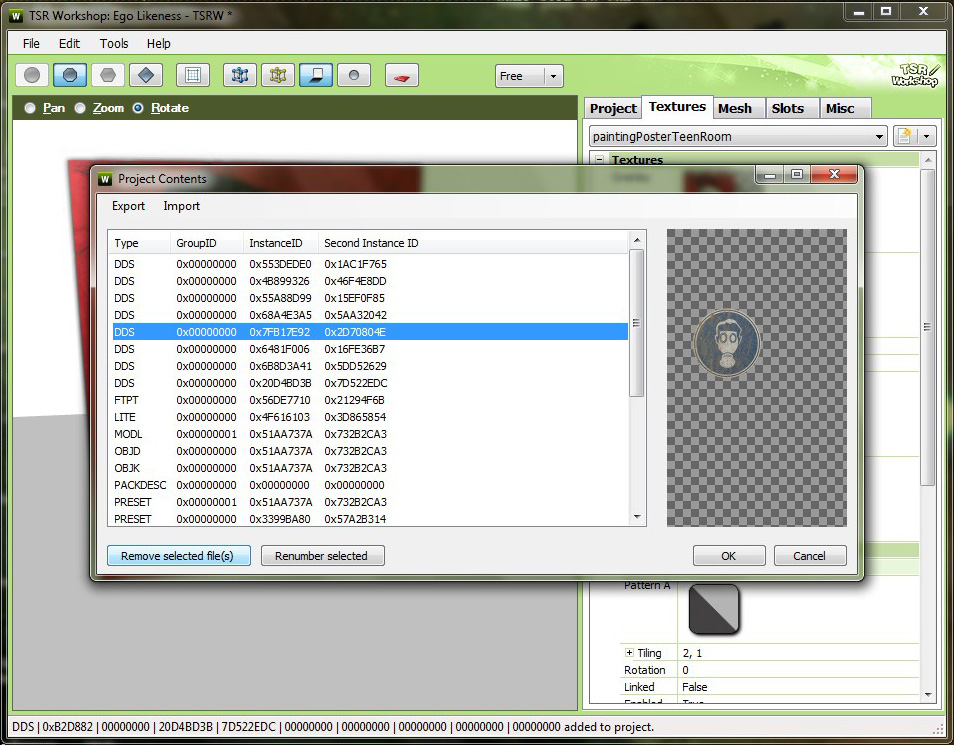
Delete any leftover images from the original package you cloned.
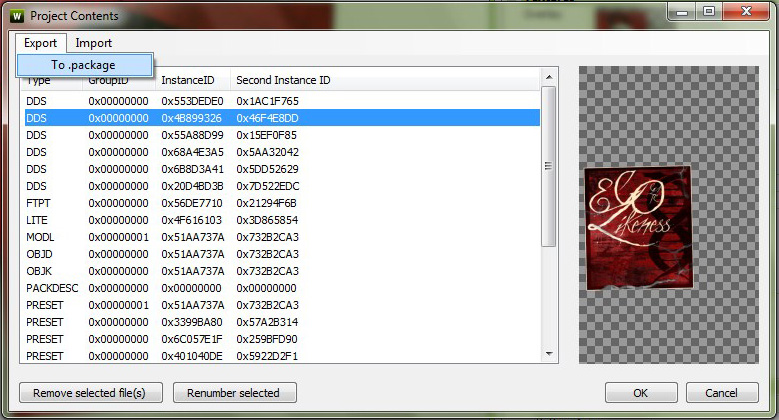
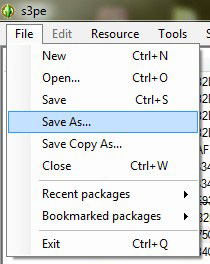
After you're done deleting all the extra images, select Export - To Package.
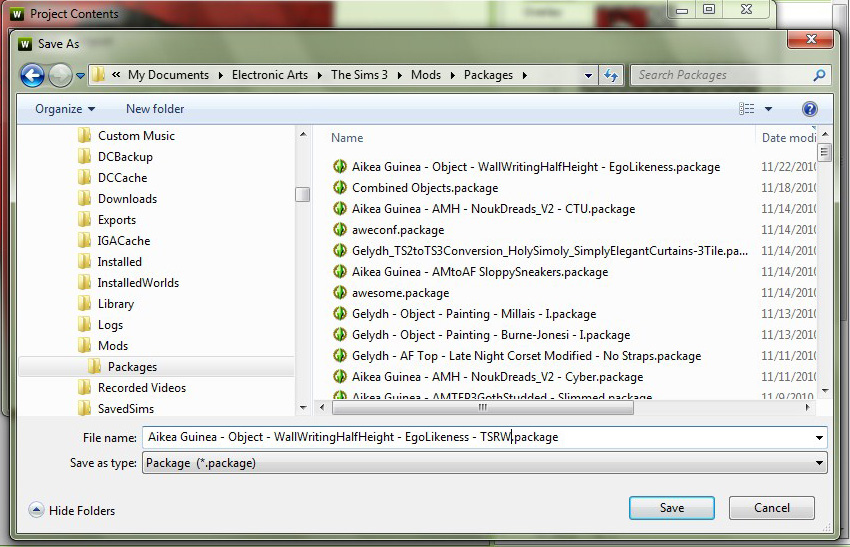
Save!
But you're not quite finished.
It's important you not skip the next step!
I've had packages that just don't work when exported via TSRW, but I found it's pretty easy to fix them just by using S3PE to import them as DBCs.
A Simple Fix
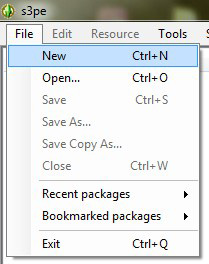
Open S3PE and select File - New.

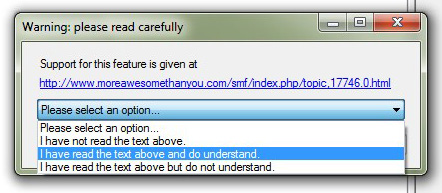
Right-click in the white area and select Import - (EXPERIMENTAL) As DBC...
Do this.
Then, this. Save over the file you exported with TSRW.
Your file should now be more stable.
CAStable Writings/Designs
These are writings or designs that can be CASted by the game. I've generally done writings with this, but you could also easily create stencils that would allow, say, a different type of wall to appear over your basic wall.
CAStable styles are done with the multiplier texture, so you'll basically be working in black and white. The white part of the image is what will show up in the game, and the black parts are transparent. Shades of grey are inbetween transparencies.

Create a new 512x512 image and flood fill it with grey.
Go to Channels and create your alpha channel.
Copy and paste your white/greyscale on black image into the alpha channel.
Flatten your image, and save as a dds in DXT5 with a descriptive name. That's all there is to it!
Creating CAStable Packages With TSRW
Follow the same first chunk of steps for creating an overlay-type wall package. The difference comes from the textures.
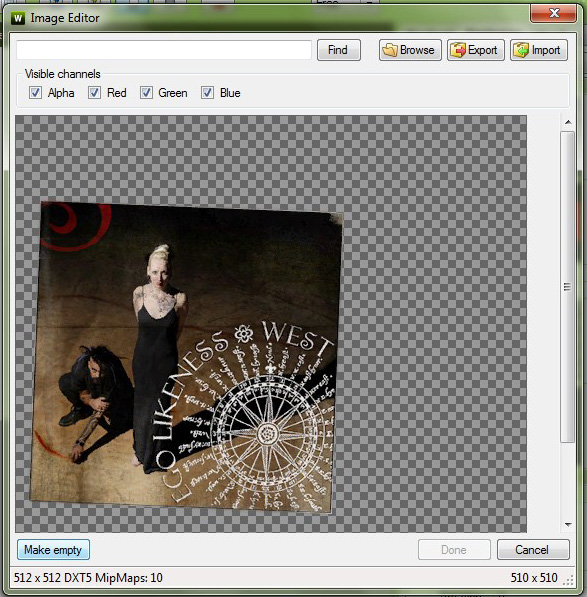
On your design textures, you're going to want an empy overlay. Just click on the 'Make Empty' button.
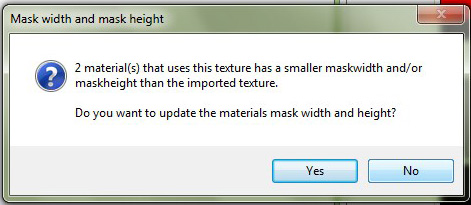
You'll get this pop-up. Click 'No.'
Import your multiplier, making sure to replace the texture. You may also want to take a few seconds to adjust the Pattern settings as seen in this preview.
Then, just follow the same steps from the Overlay tutorial on exporting it as a package, making sure to import the file as a DBC using S3PE.
Hopefully this will be of some use to those of you out there who want to give creating wall insanity a go. If you don't get something, feel free to ask. I can't promise I'll be able to help, but I can at least pretend I know what I'm doing.
Also, it's a good idea to compressorize your final DBC'ed package, as I've found the TSRW packages are about 4x the size of files I've made with S3OC/S3PE until compression happens.
Snag the completed wall writings here!
Since this is done using TSRW, it should be fairly easy for just about anyone out there to do, so let's get to it, shall we?
Note: This tutorial was put together based on my half-height wall writing. Therefore, all the image sizes are 512x512. The full-height and double-wide wall writing images are 1024x512. Please be sure to pay attention to which wall writing mesh you're creating on. ;)
First step, you may find it very useful to download my half-height wall writing psd template:
Download!
Overlays
Overlays are the closest to the TS2 ways of doing things, in that there's a set design that can't have the colors changed. This is a great way to do things like torn up posters.
Each overlay will need two images: the overlay itself, and an alpha-edited multiplier.
Pick the image you want to use as your overlay and paste it into the template psd file.
While you can leave it perfectly clean, it's generally more interesting to add more wear and tear to the image. I've aged this a bit, adding a layer of grunge and using texture brushes to erase 'tears' into the image. You'll also probably want to add a drop shadow layer. You can feel free to use the drop shadows included in the layers under 'Signs' if you'd like.
When you're done editing your image, combine all the grunge effects into a single layer. You'll no longer be able to edit the layer effects, but that's actually a good thing. Notice how I've only combined the 'poster' images, and not the background images.
With the '50% Grey' layer on, select all and 'copy all.' Create a new image, 512x512, and paste this into it. Go back to the template psd.
Click to enlarge.
TS3 uses DDS files for its images, so you'll need to create an alpha layer so the game knows how to correctly display your texture.
Make a copy of your combined poster image, then click on Image - Adjustments - Levels.
On 'Output Levels,' slide the triangle on the far left all the way over to the right. This will change your copied level to complete white, including the drop shadow effect.
At this point, turn the 'Black' layer on. What you can see now is your alpha! Do 'select all,' 'copy all' again and switch over to your new 512x512 image.

Click to enlarge.
Go to the 'Channels' tab on your new 512x512 image. You may have to 'Create A New Layer,' which is the little square thingy next to the trash can looking dealie at the bottom of the channels tab. With the alpha channel selected, paste your alpha.
Go to Layer - Flatten image, and flatten your image.
Do 'Save As' dds, and save your overlay with these settings. Name it whatever you want.
Creating the Overlay's Multiplier
Now, I utterly failed to get pictures of this next part, but it's really straight forward. Create a new 512x512 image and floodfill it with 50% grey. Under channels, create an alpha channel and simply paste in the alpha from your overlay. Save as a dds DXT5.
That's all there is to creating overlays!
Creating Overlay Packages With TSRW
Open TSRW and select 'Create New Project.'
Select 'New Import' and click 'Next.'
Use the drop-down menu to change the search to include 'packages' and select the version of my wall writing mesh you wish to edit.
Fill out all this crap and click 'Next.'
Click 'Ok' and let it do it's thing.
If you have fewer designs than are part of the package you're cloning, you'll want to delete some until you have the correct number. In this example, I only had three new designs, while the cloned package had six.
Once you have the right number of designs, click on the first one in the list, then double-click on the overlay texture.
Click on 'Import' in the upper right corner, and select one of your overlay images.
Click 'Done.'
Click 'Yes.'
Now go down to the 'Multiplier' texture. As you can see, if you don't change this, you can end up with randomness.
Click on 'Edit' and import the companion multiplier for the overlay you just imported.
Repeat the above steps for all the textures you've created, then go to Edit - Project Contents.
Delete any leftover images from the original package you cloned.
After you're done deleting all the extra images, select Export - To Package.
Save!
But you're not quite finished.
It's important you not skip the next step!
I've had packages that just don't work when exported via TSRW, but I found it's pretty easy to fix them just by using S3PE to import them as DBCs.
A Simple Fix
Open S3PE and select File - New.
Right-click in the white area and select Import - (EXPERIMENTAL) As DBC...
Do this.
Then, this. Save over the file you exported with TSRW.
Your file should now be more stable.
CAStable Writings/Designs
These are writings or designs that can be CASted by the game. I've generally done writings with this, but you could also easily create stencils that would allow, say, a different type of wall to appear over your basic wall.
CAStable styles are done with the multiplier texture, so you'll basically be working in black and white. The white part of the image is what will show up in the game, and the black parts are transparent. Shades of grey are inbetween transparencies.
Create a new 512x512 image and flood fill it with grey.
Go to Channels and create your alpha channel.
Copy and paste your white/greyscale on black image into the alpha channel.
Flatten your image, and save as a dds in DXT5 with a descriptive name. That's all there is to it!
Creating CAStable Packages With TSRW
Follow the same first chunk of steps for creating an overlay-type wall package. The difference comes from the textures.
On your design textures, you're going to want an empy overlay. Just click on the 'Make Empty' button.
You'll get this pop-up. Click 'No.'
Import your multiplier, making sure to replace the texture. You may also want to take a few seconds to adjust the Pattern settings as seen in this preview.
Then, just follow the same steps from the Overlay tutorial on exporting it as a package, making sure to import the file as a DBC using S3PE.
Hopefully this will be of some use to those of you out there who want to give creating wall insanity a go. If you don't get something, feel free to ask. I can't promise I'll be able to help, but I can at least pretend I know what I'm doing.
Also, it's a good idea to compressorize your final DBC'ed package, as I've found the TSRW packages are about 4x the size of files I've made with S3OC/S3PE until compression happens.
Snag the completed wall writings here!


no subject
Date: 2010-11-23 08:29 am (UTC)no subject
Date: 2010-11-23 10:40 pm (UTC)I may have even found a way to simplify the overlays as well;
no subject
Date: 2010-12-06 12:53 am (UTC)no subject
Date: 2011-12-13 09:49 am (UTC)"The index was outside the allowed range. Index cannot be negative and it must be smaller than the collection.
Parameter name: Index"
I have only just learned to do paintings - most with s3oc - so I sorry if this is a stupid question. :-)
no subject
Date: 2011-12-13 06:22 pm (UTC)no subject
Date: 2011-12-21 11:53 pm (UTC)ANYWAY...
I got the same error when I imported the 2-tile mesh. However, I just clicked on the 'ignore this and continue' option that came up with it and everything seems like it got into TSRW just fine. :)
no subject
Date: 2011-12-23 10:33 pm (UTC)no subject
Date: 2012-01-06 04:13 pm (UTC)The other one is that almost none of your wall writings ja graffitis work in game. They stay red and slide through the walls. I just redownloaded them all in case I had an old versions but they remain unplaceable.
The only ones that do work just fine are the "Absinthe", the "EgoLikeness" and the AsylymScribbles".
no subject
Date: 2012-01-06 05:44 pm (UTC)The other problem is probably with how I made them. I wonder if I inadvertantly messed up a setting somewhere and just never noticed since I almost always have 'moveobjects on' running. That would make sense because I think I made the last three using TSRW. I think. It's been forever. :X
no subject
Date: 2012-01-20 12:49 pm (UTC)I do apologize for causing you unnessary headache. It was not my intention. I still have the empty icon issue but I see if I can work it out somehow.